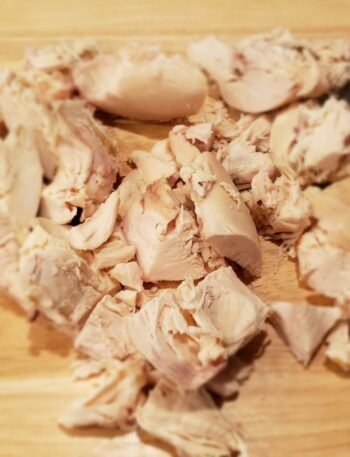
Building on the marinated grilled chicken breasts, this batch protein is great for fajitas or any other Mexican dish that requires the smokiness of the fire pit. The flavor profile is more purposeful for smoky and spicier dishes. Batch cooking the chicken means fajitas anytime you want them, even if it is raining out. The hard part is already done.

Batch Marinated Grilled Fajita Chicken
Ingredients
- 6 lb Chicken Breasts Trimmed
- 1.5 cup Orange Juice
- 1.5 cup Pineapple Juice
- 0.25 cup Avocado Oil
- 0.25 cup Soy Sauce
- 0.25 cup Garlic Minced
- 2 tbsp Salt Morton Course Kosher Salt
- 1.5 tsp Cumin Ground
- 1.5 tsp Black Pepper Ground
- 1.5 tsp Oregano Dried
- 1.5 tsp Chipotle Powder
- 2 tbsp Smoke Paprika
- 3 cup Onions Sliced
- 3 cup Bell Peppers Sliced
Instructions
- Wash chicken breasts in white distilled vinegar and water (1/2 and 1/2), optional Mix all marinade ingredients in a bowl. Place chicken and marinade in a 2.5-gallon ziplock bag. Move the chicken around by massaging the bag so that all the chicken is coated with the marinade. Lay the bag flat on the bottom shelf of the refrigerator, making sure no ready-to-eat foods are below it. Refrigerate for 24 hours Flip the bag every 6-12 hours to ensure an even marinade. Preheat the grill to medium Preheat oven to 350. Grill chicken for 4-6 minutes on each side, turning 90 degrees after about 2-3 minutes to get a nice grill mark. Do this on the other side as well. When the grill marks are nice and brown, pull the chicken and place it in a Dutch oven or hotel pan. Cover the Dutch oven or hotel pan with a lid or foil. Insert a thermometer into the center of the thickest breast. Cover the Dutch oven or hotel pan with a lid or foil. Place chicken in the oven until the thermometer reads 165. Remove chicken and let rest for 30 minutes. Save the juices and portion equally with the chicken breasts. Bag the breast 4 into a bag, let cool, and seal.

Discover more from In The Kitchen With Vic
Subscribe to get the latest posts sent to your email.


